


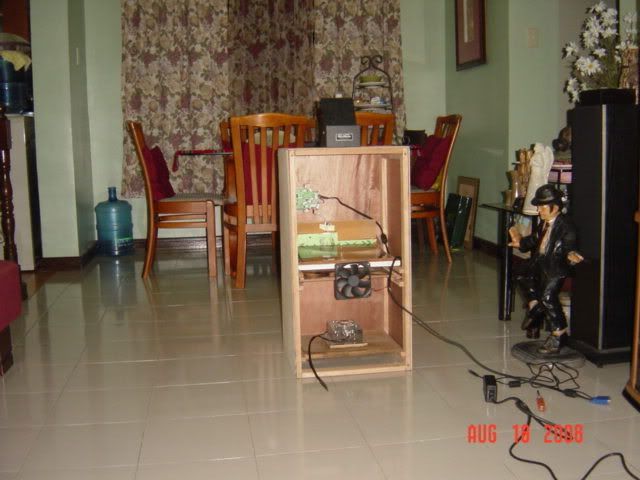
Build my own lcd projector
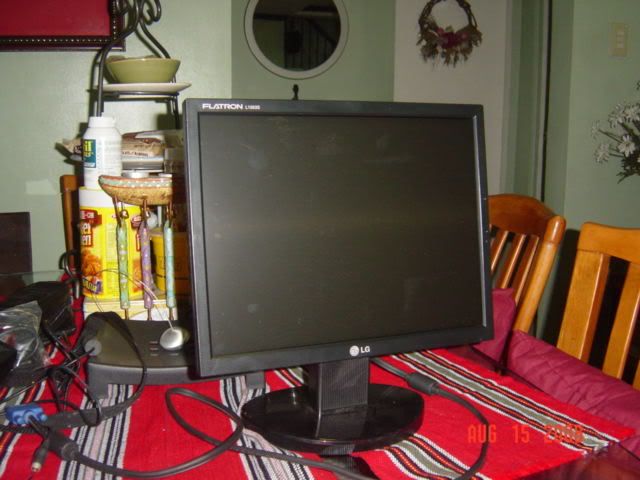
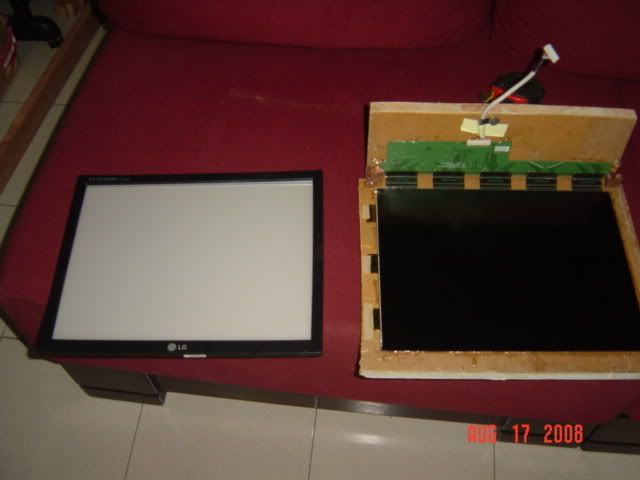
Bought used LG 1553s lcd monitor for 4500 pesos
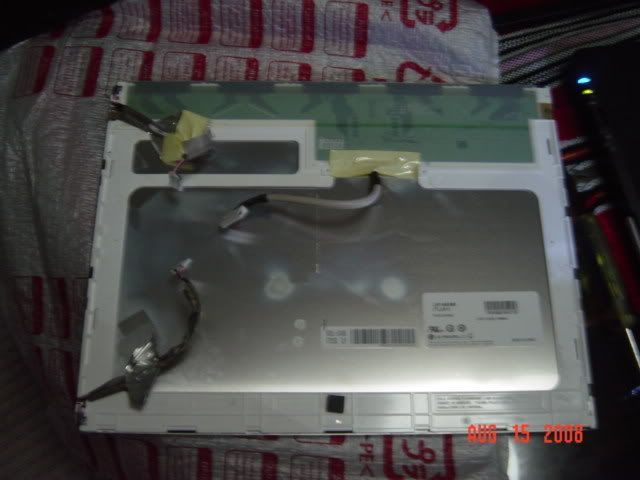
strippled the monitor
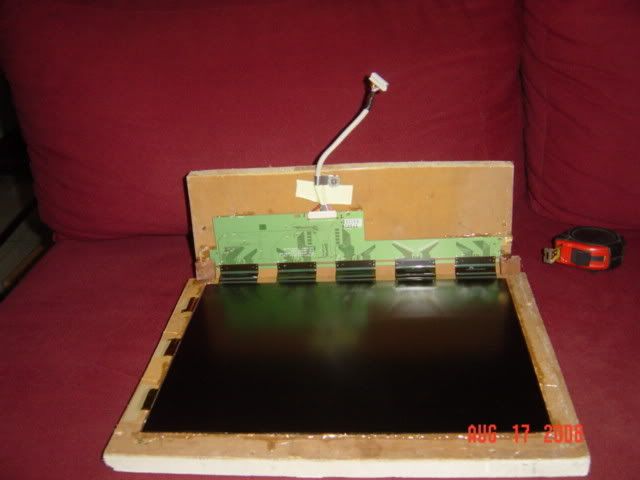
Put the lcd pnael in the frame
Made a box and put overhead projector lenses in the box including the 25ow metal halide bulb. Bulb has 10,000 hours life
The Largest Car Forum in the Philippines
- Forums
- Discussions
- Events
- Community
Results 41 to 60 of 108
Threaded View
-
 Verified Tsikot Member

- Join Date
- Sep 2008
- Posts
- 55
September 27th, 2008 05:30 PM #1

 Reply With Quote