


"
The Largest Car Forum in the Philippines
- Forums
- Discussions
- Events
- Community
Results 1 to 20 of 25
Hybrid View
-

 Tsikoteer

- Join Date
- May 2009
- Posts
- 1,990
-
Tsikoteer
- Join Date
- May 2009
- Posts
- 1,990
-
Tsikoteer
- Join Date
- May 2009
- Posts
- 1,990
February 18th, 2011 10:46 AM #3Engine is 4D56Turbo with head gasket problem...Symptom/s:constant bubbling at rad neck, high pressure buildup when cold (cooling system), constant addition of water, overheating.
with the workshop manual,some handwritten guides, replacement part, regular handtools and special tools...it can be a DIY job. Anyone who knows how to turn a wrench (those noob like me in this job) aided by mechanical proficiency and safety can also do this job. Special tools include torque wrench (better get the auto click type), 10 mm hex socket, feeler gage and straightedge or any leveling tool.
[URL="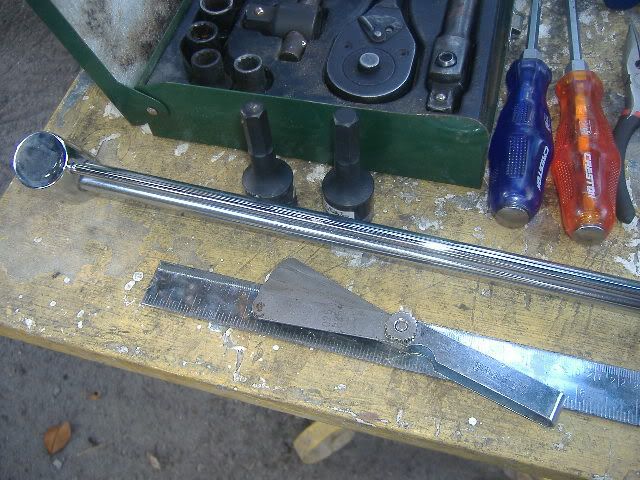 "]
"]
[URL="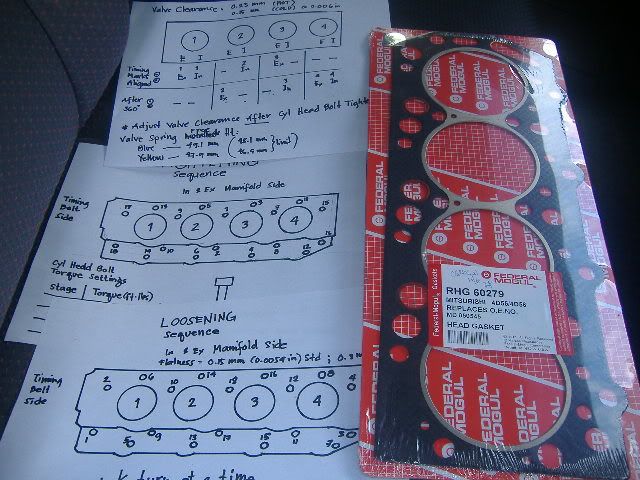 "]
"]
1. Remove upper timing cover, PS & Alt belts, PS pump & bracket, intake manifold, air cleaner, valve cover, lay aside exhaust and turbo assy, as well as the radiator to give you more room to maneuver
[URL="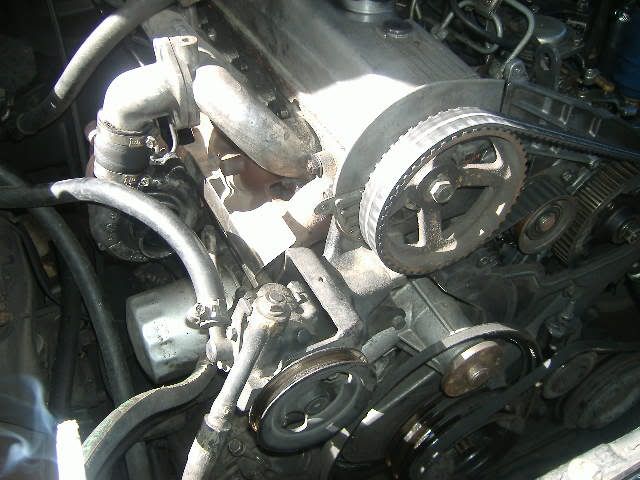 "]
"]
[URL=" "]
"]
[URL="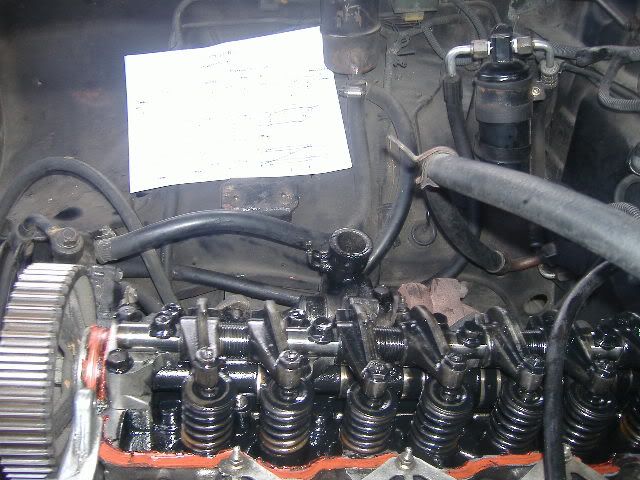 "]
"]
-
Tsikoteer
- Join Date
- May 2009
- Posts
- 1,990
February 18th, 2011 10:54 AM #4Remove injection pipe (dual wrench action) as well as fuel overflow, electrical grounds to cyl head (take note: disconnect battery negative first before any work is done)
[URL="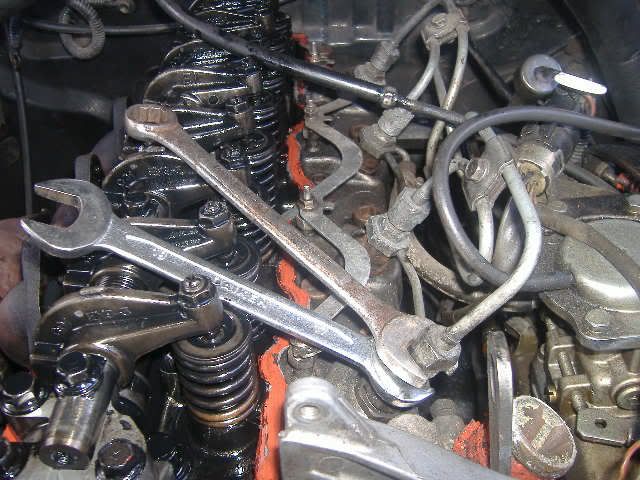
Cover all ports and openings. I used small plastic and tie wires.
[URL="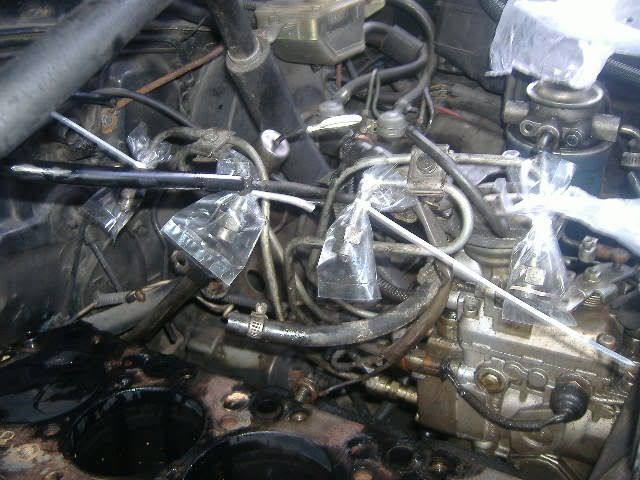
Next align timing marks via the crankshaft nut (19mm):
Camshaft
[URL="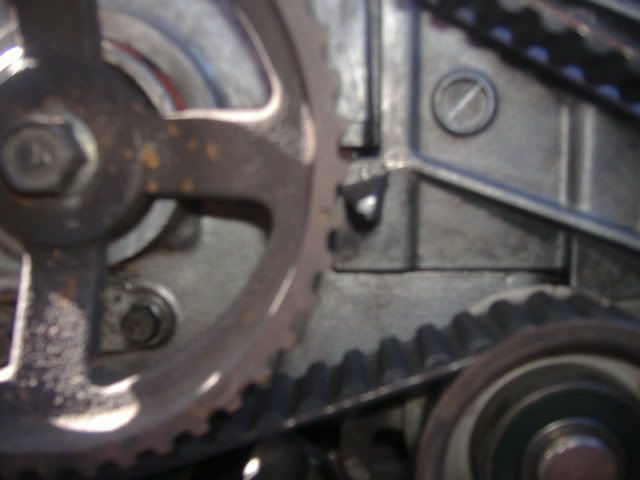
Crankshaft
[URL="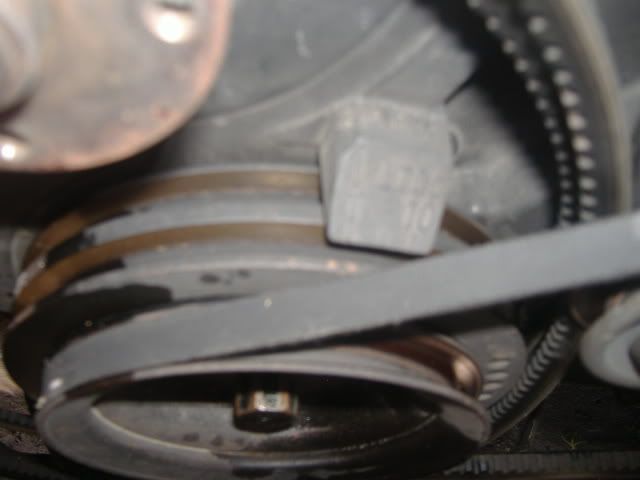
Injection Pump
[URL="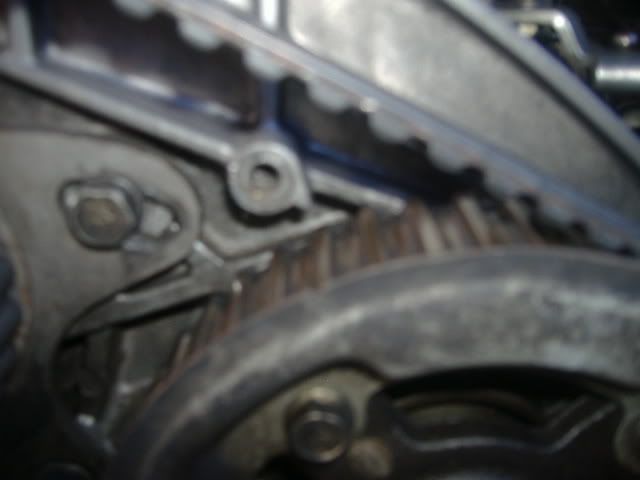
-
Tsikoteer
- Join Date
- May 2009
- Posts
- 1,990
February 18th, 2011 11:04 AM #5Cover timing belt to prevent contamination.
[URL="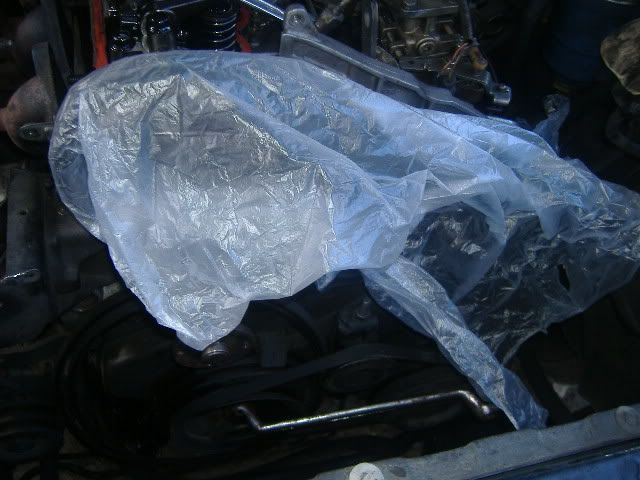
Remove rocker arm and shaft assy. don't lose the washers.
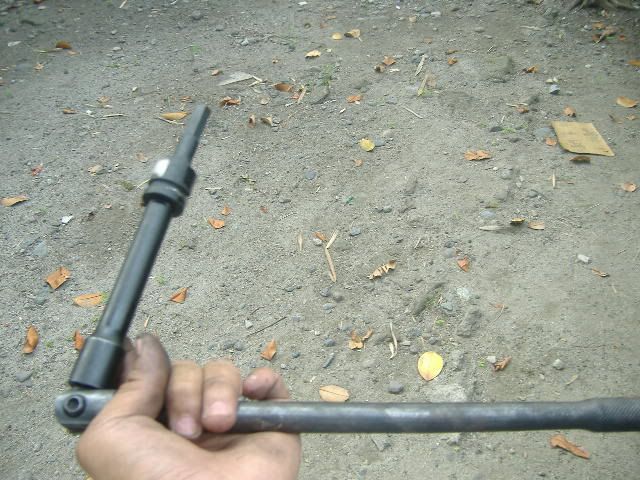
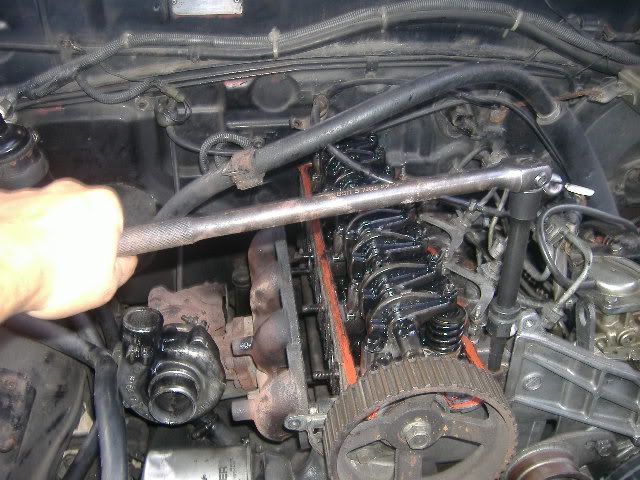
Now use the special tool plus the breaker arm/socket handle and extension
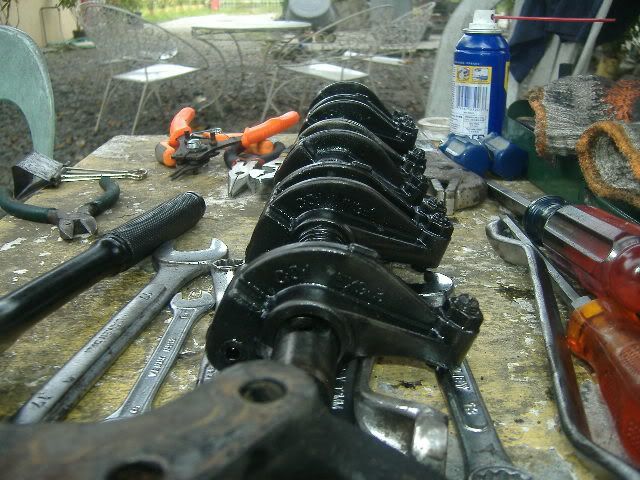
Following the removal guide, remove headbolts starting from the outer moving to the inner bolts alternately (usually moving in circles). Installation would be the reverse: from inner to outer bolts. My headbolts were unusually loose!!!
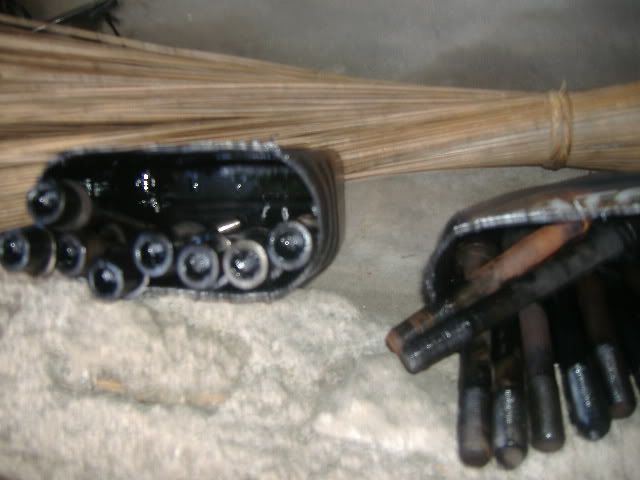
These are the headbolts...some were rusted. could be due to coolant.
-
Tsikoteer
- Join Date
- May 2009
- Posts
- 1,990
February 18th, 2011 11:33 AM #6With the timing belt removed and tied to the Injection Pump, Remove the cylinder head. Don't pry in between block and head. You may damage the sealing surface. What i did is to tap the sides evenly. then using the head casting at the front, tap the head up using a block of wood and hammer. some heads may be difficult to remove but with patience. You may see from the pic that i tapped on the sprocket but it's not.
[URL="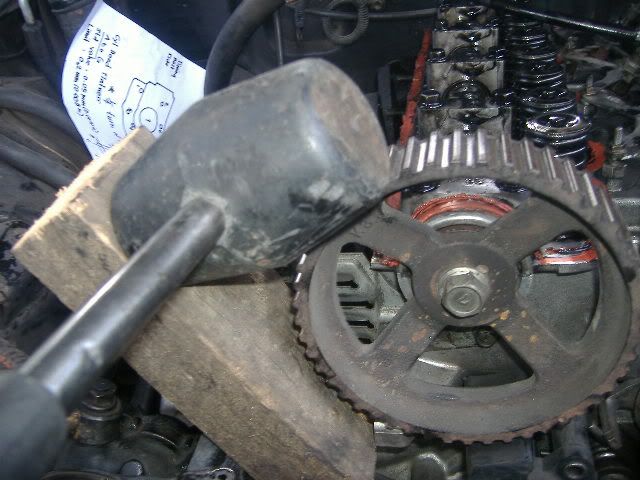 "]
"]
Lift the head vertically. Do not remove it sideways due to protruding headbolt holes at the front and rear. this is the head coated with lovely carbon.....
[URL="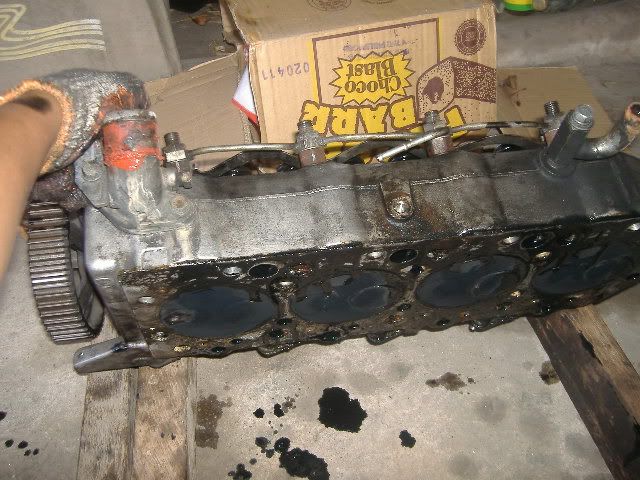 "]
"]
Mcguyver covers on the nozzles to prevent entry of "foreigners"
[URL="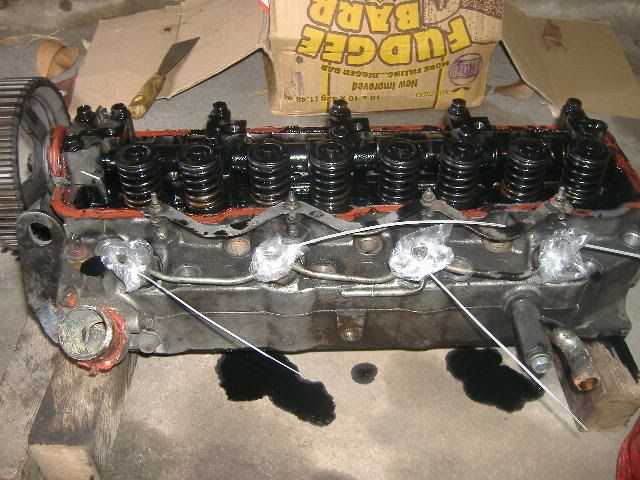 "]
"]
I used gasoline to clean the head as well as the block with the help of a gasket scraper... Now measure any warp on the head using the feeler gage. Standard value for this specific engine is 0.05mm while the limit is 0.2 mm...I also checked airtightness of the valves by pouring gasoline to every intake and exhaust ports. Cyl#4 Intake valve weeps a very little amount. Well, i didn't bother diassembling the valves to grind them....the reason? i don't have that much time and the special tool to do it...besides the machine shop is fully booked.
[URL="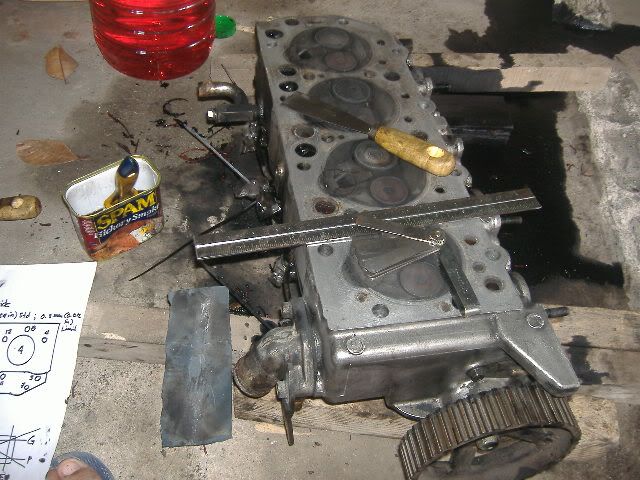 "]
"]
Plus, the head got cracks on the precombustion chamber inserts....these were seen before during the 2nd head gasket replacement done by my mechanic. I still didn't bother to change them.
[URL="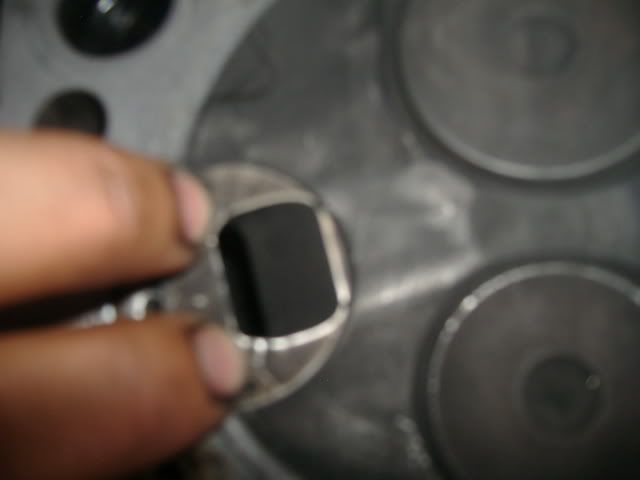

 Reply With Quote